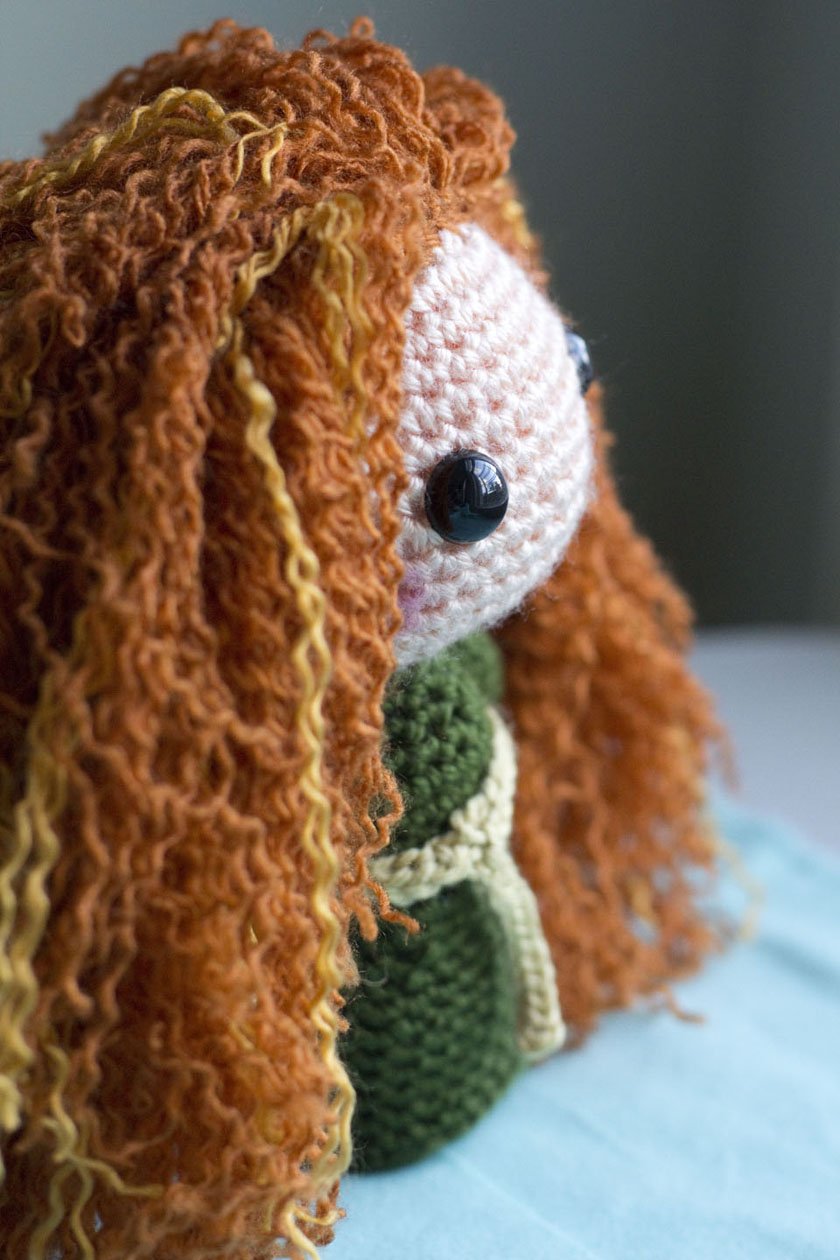
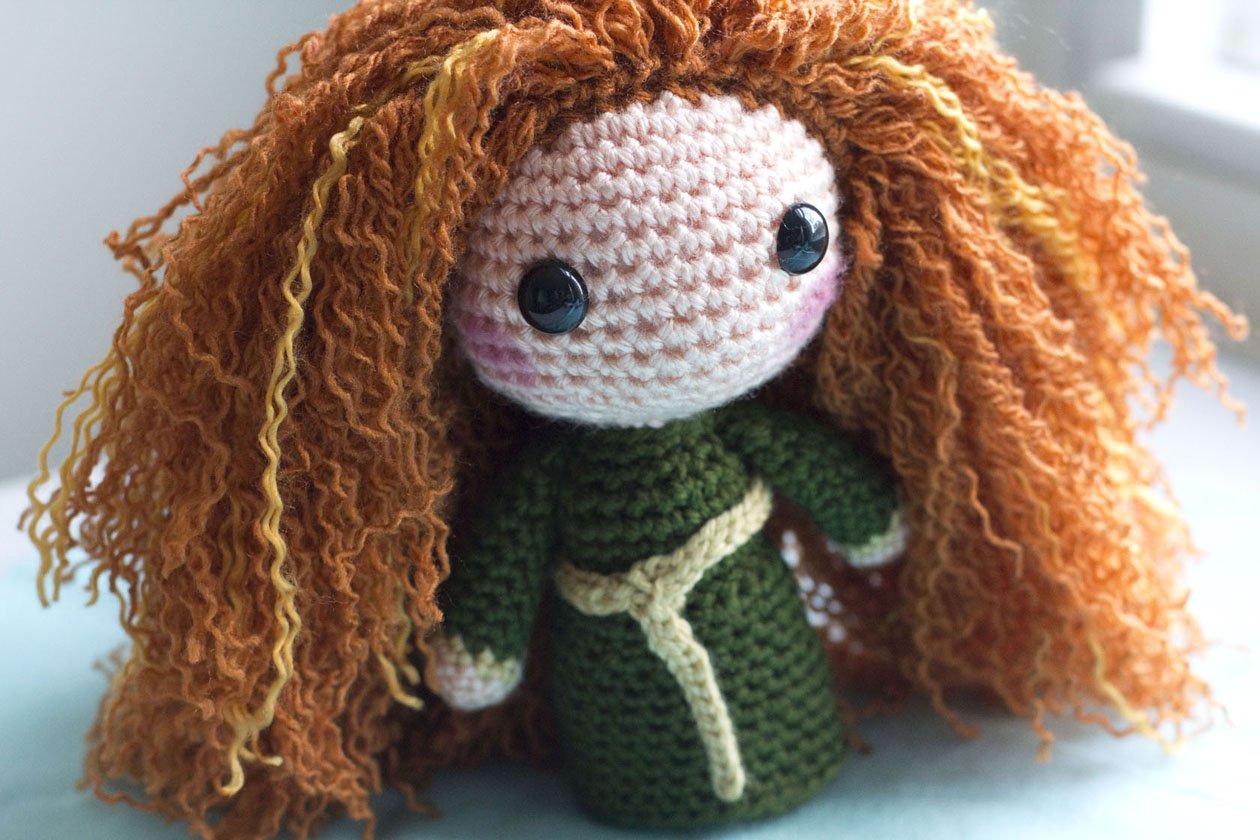
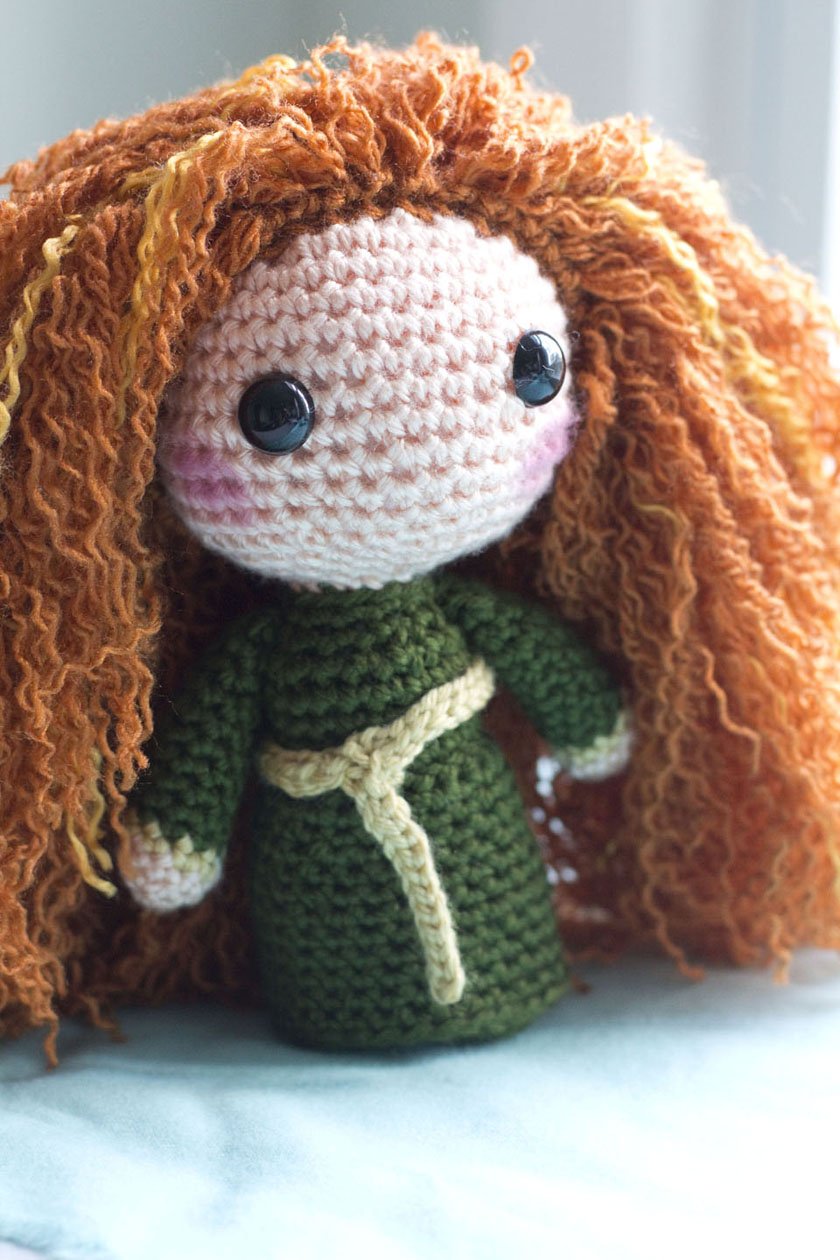
Merida
Pattern by SheepandSquid
Welcome! Hope you have fun shooting through this pattern to create your own little Scottish heroine!
I’d recommend this pattern for the advanced beginner crocheter. You will need to be familiar with the crochet stitches below, feel comfortable crochet in the round, changing colours, and ideally familiar with the concept of joining legs. If you run into any problems while you’re assembling her, notice any errors in the instructions, or just want to send me a photo of your own little heroine when she’s finished, please do leave a comment and I’ll get back to you ASAP.
I know she’s super cute but please do not sell or redistribute the pattern or the final product. Thank you for understanding.
The pattern uses the following abbreviations (US crochet terms):
MC: magic circle, or adjustable ring
CH: chain
SC: single crochet
Inc: increase (SC 2 in single stitch)
Invdec: invisible decrease
BLO: back loops only
FLO: front loops only
slst: slip stitch
Before you get started, you’ll need the following materials:
Crochet hook size F5/3.75mm
Worsted weight yarn (medium/4) in light peach, gold, dark green, and a dark orange for hair
Stitch marker (I use a small piece of bright yarn)
Yarn needle
Polyester fibrefill stuffing
15mm plastic safety eyes
Small weights, like fishing weights (optional)
Ok, let’s do this thing!
-
Using light peach…
Round 1: (light peach) MC 6 (6)
Round 2: inc every stitch (12)
Round 3: *sc 1, inc* repeat around (18)
Round 4: *sc 2, inc* repeat around (24)
Round 5: *sc 3, inc* repeat around (30)
Round 6: *sc 4, inc* repeat around (36)
Round 7-15: sc around (36)
Round 16: *sc 4, inv dec* repeat around (30)
Round 17: *sc 3, inv dec* repeat around (24)
Round 18: *sc 2, inv dec* repeat around (18) place eyes and stuff head firmly
Round 19: *sc 1, inv dec* repeat around (12) fasten off, leaving long tail for attaching to body
For hair use whichever method you are comfortable with. I prefer to use the hair cap/wig method: Using hair color (dark orange) repeat Head instructions above to round 13, crocheting only in back loops. Then hook short strands of yarn to cap in the front loops. Sew cap onto head, cut and style hair (easiest to cut and style once attached to body). I used one main colour of a dark orange with a few strands of gold thrown in for depth, and unraveled the strands when everything was in place to give her loads of volume!
-
Starting with light peach…
Round 1: (light peach) MC 6 (6)
Round 2: *sc 1, inc* repeat around (9)
Round 3: sc around (9), finish last stitch with gold
Round 4: (gold) sc around (9), finish last stitch with dark green
Round 5-11: (dark green) sc around (9), stuff but not too full at top
Round 12: *sc 1, inv dec* (6)
Round 13: sc around (6) fasten off, leaving long tail to attach to body later
-
Starting with dark green…
Round 1: (dark green) MC 5 (5)
Round 2: inc every stitch (10)
Round 3: inc first 3 st, sc 7 (13)
Round 4: sc BLO around (13)
Round 5: invdec 3, sc 7 (10)
Round 6-10: sc around (10), fasten off 1st leg.
Do not fasten off 2nd leg, continue straight to body instructions.
-
Starting where we left off on the 2nd leg, we’ll join the legs together.
Step 1: SC around the second leg (usually 4 stitches) so it is close to the other leg when holding the legs together. (The increases at the bottom of the leg are like little toes so they should both be facing the same direction. With toes facing away from you, the 1st leg will be the left leg and 2nd leg will be the right leg.)
Step 2: To join, SC through 1st and 2nd leg. Think of this stitch as the crotch 😉
Step 3: SC around left leg as normal, then around the right leg when you reach the crotch. You should have 10 stitches around each leg.
Step 4: SC around legs – 20 stitches. This counts as the first round of the body, go directly into round 2 of body…
Round 2: sc 19, inc last st (21)
Round 3: sc around (21)
Round 4: BLO sc around (21), put weights in feet (if desired, helps her stand since she’s a bit top-heavy with her giant head) and stuff legs but not too full
Round 5: sc 19, invdec (20)
Round 6-8: sc around (20)
Round 9: sc 3, invdec around (16)
Round 10: sc 2, inv dec around (12)
Round 11: sc around (12) fasten off
-
For the belt, using gold…
Round 1: (gold) chain 33, join at 20th chain from hook
Round 2: slst 13 down the unjoined section, then slst back up the other side and around the entire belt, weave in ends.
For the skirt, starting in the back of the body on the row of loops from round 4 of body and using the same dark green…
Round 1: (dark green) FLO sc around in loops from body round 4 (21)
Round 2: sc 20, inc (22)
Round 3-6: sc around (22)
Round 7: sc 5, inc, sc 10, inc, sc 5 (24) (increases should be at hips, adjust as necessary)
Round 8-9: sc around (24)
Round 10: sc 5, inc, sc 11, inc, sc 6 (26) (again, just make sure increases are at the sides of the skirt)
Round 11: sc around (26)
Round 12: sc 6, inc, sc 12, inc, sc 6 (28), fasten off and weave in tail.
Place belt around body. Position and attach arms, then stuff body. Position and attach head, cut and style hair if not done already.
And you’re done! Depending on your tension, and assuming you used the same hook size and yarn weight, your finished doll should be about 19 cm (7.5 in) tall – her hair adds some height!
If you enjoyed this pattern, please consider supporting me so I can continue to bring fun projects to you!